BaGet is an open-source NuGet server implementation. It provides a lightweight and performant solution to host your own NuGet repository. In this tutorial, I will walk you through deploying BaGet in a Kubernetes cluster using manifests for a persistent volume, deployment, service, and ingress with basic authentication.
Prerequisites
- A running Kubernetes cluster
kubectlinstalled and configured- NGINX Ingress Controller installed (for ingress with authentication)
Step 1: Create Directory for BaGet Storage
On your Kubernetes node, create the directory where BaGet will store its packages and database files. For this example, the directory will be /home/user/baget/.
mkdir -p /home/user/bagetStep 2: Create a BaGet Environment Config
To configure BaGet, we’ll use environment variables stored in a secret. First, create a baget.env file with the necessary environment variables.
cat <<EOF > baget.env
# The following config is the API Key used to publish packages.
# You should change this to a secret value to secure your server.
ApiKey=NUGET-SERVER-API-KEY
Storage__Type=FileSystem
Storage__Path=/var/baget/packages
Database__Type=Sqlite
Database__ConnectionString=Data Source=/var/baget/baget.db
Search__Type=Database
EOF
Next, create a Kubernetes secret using the baget.env file:
kubectl create secret generic baget-env --from-env-file=baget.envThis secret will provide BaGet with the necessary configuration values.
Step 3: Create Persistent Volume (PV) and Persistent Volume Claim (PVC)
We will define a persistent volume (PV) and a persistent volume claim (PVC) to store BaGet’s data. The following pv.yaml and pvc.yaml manifests define these resources:
pv.yaml
apiVersion: v1
kind: PersistentVolume
metadata:
  name: baget-pv
spec:
  storageClassName: baget
  capacity:
    storage: 1Gi
  accessModes:
    - ReadWriteMany
  hostPath:
    path: /home/user/baget/baget-data
pvc.yaml
apiVersion: v1
kind: PersistentVolumeClaim
metadata:
  name: baget-pvc
spec:
  storageClassName: baget
  accessModes:
    - ReadWriteMany
  resources:
    requests:
      storage: 1Gi
Apply these manifests to your Kubernetes cluster:
kubectl apply -f pv.yaml
kubectl apply -f pvc.yaml
Step 4: Create a StorageClass
Since we are using a local storage directory on the node, we need to create a storage class with the no-provisioner type. Here’s the sc.yaml for the storage class:
kind: StorageClass
apiVersion: storage.k8s.io/v1
metadata:
  name: baget
provisioner: kubernetes.io/no-provisioner
volumeBindingMode: WaitForFirstConsumer
Apply the storage class manifest:
kubectl apply -f sc.yamlStep 5: Deploy BaGet
Next, we’ll create a deployment for the BaGet server. The deployment uses the BaGet Docker image and mounts the persistent volume where the data will be stored.
deploy.yaml
apiVersion: apps/v1
kind: Deployment
metadata:
  name: baget
  labels:
    app: baget
spec:
  replicas: 1
  selector:
    matchLabels:
      app: baget
  template:
    metadata:
      labels:
        app: baget
    spec:
      containers:
      - name: baget
        image: loicsharma/baget:latest
        envFrom:
          - secretRef:
             name: baget-env
        imagePullPolicy: IfNotPresent
        ports:
        - containerPort: 80
        volumeMounts:
        - name: baget-data
          mountPath: "/var/baget"
      volumes:
      - name: baget-data
        persistentVolumeClaim:
          claimName: baget-pvc
Apply the deployment manifest:
kubectl apply -f deploy.yamlService Definition
To expose the BaGet service, we define a NodePort service in the deploy.yaml to map traffic to the BaGet container:
---
apiVersion: v1
kind: Service
metadata:
  name: baget
spec:
  selector:
    app: baget
  ports:
    - protocol: TCP
      port: 80
      targetPort: 80
      nodePort: 32555
  type: NodePort
This exposes the BaGet service on port 32555.
Step 6: Secure BaGet with Basic Authentication
To add a layer of security to your BaGet instance, we will use basic authentication. First, generate an htpasswd file to store user credentials:
sudo apt install apache2-utils

htpasswd -c auth foo
Convert the auth file into a Kubernetes secret:
kubectl create secret generic basic-auth --from-file=authVerify the secret creation:
kubectl get secret basic-auth -o yamlStep 7: Configure Ingress with Authentication
Create an ingress resource to route traffic to the BaGet service, and configure it to use the basic-auth secret for authentication. Below is the ingress.yaml:
apiVersion: networking.k8s.io/v1
kind: Ingress
metadata:
  name: baget-ingress
  annotations:
    nginx.ingress.kubernetes.io/auth-type: basic
    nginx.ingress.kubernetes.io/auth-secret: basic-auth
    nginx.ingress.kubernetes.io/auth-realm: 'Authentication Required'
spec:
  ingressClassName: nginx
  rules:
  - host: baget.example.com
    http:
      paths:
      - path: /
        pathType: Prefix
        backend:
          service:
            name: baget
            port:
              number: 80
Apply the ingress manifest:
kubectl apply -f ingress.yamlMake sure the DNS for baget.example.com points to your cluster.
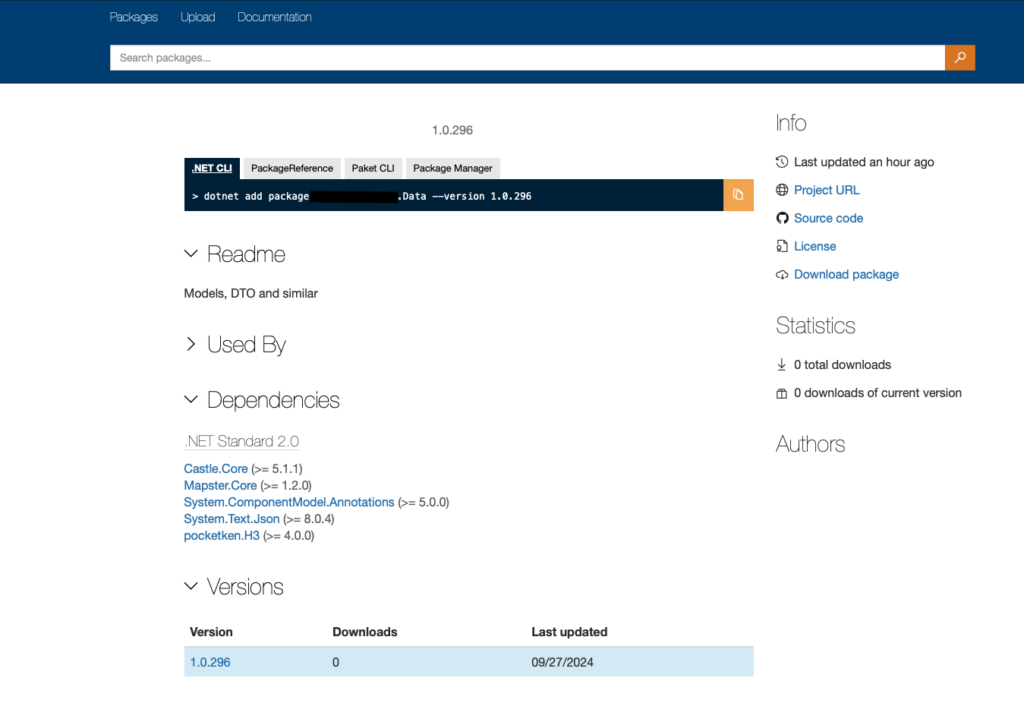
Step 8: Publish packages
Publish your first package with:
dotnet nuget push -s http://localhost:32555/v3/index.json -k NUGET-SERVER-API-KEY package.1.0.0.nupkgStep 9: Access BaGet
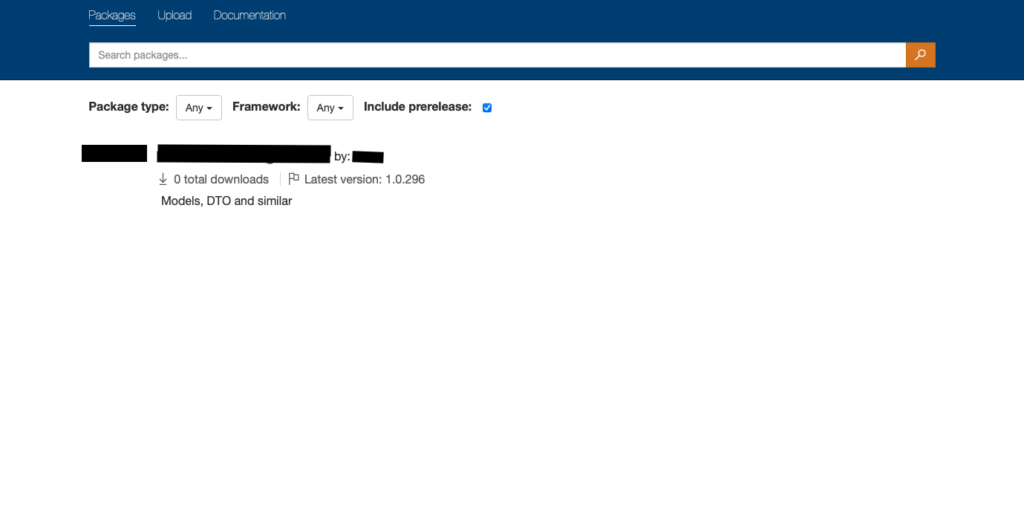
You can now access your BaGet server through the configured ingress URL with basic authentication at http://baget.example.com. Use the credentials you generated with htpasswd to log in.

With this setup, you now have a fully functional, self-hosted NuGet server running on Kubernetes. The combination of persistent storage, environmental configuration via secrets, and basic authentication ensures your server is robust and secure.