With the official retirement of Ingress NGINX announced for March 2026, Kubernetes users are encouraged to move toward the Gateway API, the new standard for traffic management.
In this guide, I’ll show you how to install and configure Traefik with Gateway API support on Kubernetes – a future-proof alternative that replaces Ingress NGINX seamlessly.
Why Move Away from Ingress NGINX?
Ingress NGINX has been the de facto ingress controller for years. However, the Kubernetes project has shifted focus to Gateway API, which offers a more powerful, extensible, and standardized way to manage traffic.
Key Reasons to Migrate:
- Ingress NGINX is deprecated – maintenance ends in 2026.
- Gateway API is the future – backed by Kubernetes SIG Network.
- Vendor-neutral standard – works across Traefik, HAProxy, Istio, Cilium, and others.
- Advanced features – traffic splitting, weighted routing, header matching, and cross-namespace control.
Why Choose Traefik?
Traefik is one of the first ingress controllers to fully implement the Gateway API. It combines simplicity with rich features like:
- Native support for Gateway API and legacy Ingress
- Built-in Let’s Encrypt, Prometheus metrics, and dashboard
- Lightweight and production-ready deployment via Helm
- Seamless migration path from existing Ingress definitions
Prerequisites
Before starting, make sure you have:
- A running Kubernetes cluster (v1.22 or newer)
- Helm 3.9+
kubectlconfigured for your cluster
Step 1: Add the Traefik Helm Repository
helm repo add traefik https://traefik.github.io/charts
helm repo updateStep 2: Create the Namespace
kubectl create namespace traefikStep 3: Prepare values for helm chart
values.yaml
ingressRoute:
  dashboard:
    enabled: true
    matchRule: Host(`localhost`)
    entryPoints:
      - web
providers:
  kubernetesGateway:
    enabled: true
gateway:
  listeners:
    web:
      namespacePolicy:
        from: All
logs:
  access:
    enabled: true
format: jsonStep 4: Install Traefik with Gateway API Enabled
helm install -n traefik traefik traefik/traefik -f values.yaml✅ This command installs Traefik with:
- Gateway API support enabled
- Accesslog enabled
- Ingress and Traefik CRDs for backward compatibility
Modify default gateway to support 8443 secure port and add certificateRefs to add tls certificates
gateway.yaml
apiVersion: gateway.networking.k8s.io/v1
kind: Gateway
metadata:
  name: traefik-gateway
  namespace: traefik
spec:
  gatewayClassName: traefik
  listeners:
  - name: web
    port: 8000
    protocol: HTTP
    allowedRoutes:
      namespaces:
        from: All
  - name: websecure
    port: 8443
    protocol: HTTPS
    tls:
      mode: Terminate
      certificateRefs:
      - name: tls-certificate #your certificate name
        namespace: default
    allowedRoutes:
      namespaces:
from: Allkubectl apply -f gateway.yamlCreate a ReferenceGrant to allow the Gateway to reference the secret:
- Allows the Gateway in traefik namespace to reference the Secret tls-certificate in default namespace
- This is a Gateway API security feature for cross-namespace references
referencegrant.yaml
apiVersion: gateway.networking.k8s.io/v1beta1
kind: ReferenceGrant
metadata:
  name: allow-traefik-to-default-secrets
  namespace: default
spec:
  from:
  - group: gateway.networking.k8s.io
    kind: Gateway
    namespace: traefik
  to:
  - group: ""
    kind: Secret
name: tls-certificatekubectl apply -f referencegrant.yamlStep 5: Verify the Installation
Check that the pods are running:
kubectl get pods -n traefikConfirm the GatewayClass registration:
kubectl get gatewayclass traefikYou should see ACCEPTED: True.
Verify that Traefik started with the Gateway provider:
kubectl get deployment traefik -n traefik -o jsonpath='{.spec.template.spec.containers[0].args}' | grep kubernetesgatewayStep 6: Create an HTTPRoute
Example route for a service named my-app-service:
apiVersion: gateway.networking.k8s.io/v1
kind: HTTPRoute
metadata:
  name: my-app-route
  namespace: default
spec:
  parentRefs:
  - name: traefik-gateway
    namespace: traefik
  hostnames:
  - "myapp.example.com"
  rules:
  - matches:
    - path:
        type: PathPrefix
        value: /
    backendRefs:
    - name: my-app-service
port: 80Apply it:
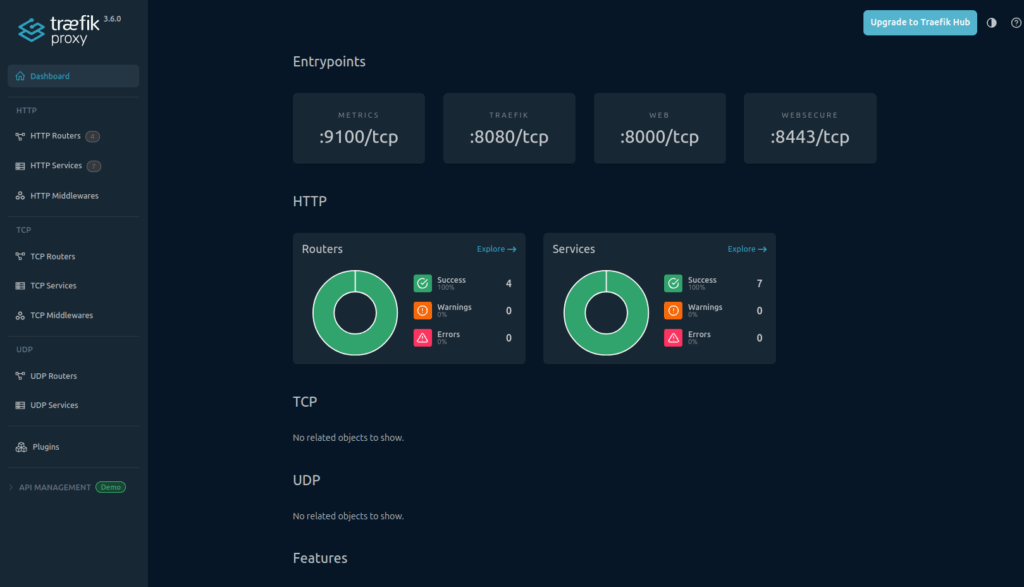
kubectl apply -f httproute.yamlStep 7: Access the Traefik Dashboard
To view the dashboard locally:
kubectl port-forward -n traefik svc/traefik 8080:8080Then open:
http://localhost:8080
Here is an additional block you can insert into your article — explaining how to use plain Ingress with Traefik simply by switching the ingressClassName from nginx to traefik.
You can paste it anywhere in your blog post.
Optional. Using Only Ingress With Traefik (No Gateway API)
If you prefer to keep using the traditional Ingress API instead of the new Gateway API, Traefik fully supports that as well. In many cases, migrating from Ingress-NGINX to Traefik is as simple as changing the ingressClassName value.
Example: Converting an NGINX Ingress to Traefik
Before (Ingress NGINX):
apiVersion: networking.k8s.io/v1
kind: Ingress
metadata:
  name: my-app
spec:
  ingressClassName: nginx
  rules:
    - host: app.example.com
      http:
        paths:
        - path: /
          pathType: Prefix
          backend:
            service:
              name: my-app
              port:
number: 80After (Ingress Traefik):
apiVersion: networking.k8s.io/v1
kind: Ingress
metadata:
  name: my-app
spec:
  ingressClassName: traefik
  rules:
    - host: app.example.com
      http:
        paths:
        - path: /
          pathType: Prefix
          backend:
            service:
              name: my-app
              port:
number: 80That’s It – No Other Changes Required
If you already have Traefik installed with the Ingress provider enabled (the default for Traefik Helm chart), simply switching:
ingressClassName: nginx → ingressClassName: traefikis enough for Traefik to take over routing.
This is useful when:
- You want an easy migration path from NGINX to Traefik
- You don’t want to move to Gateway API yet
- You want Traefik to manage routing without changing your existing Ingress manifests
If you’d like, I can integrate this block into your entire article structure and polish the whole flow.
Summary
With Ingress NGINX reaching end-of-life, adopting Traefik with Gateway API ensures your cluster stays aligned with Kubernetes’ networking future.
Traefik provides a modern, lightweight, and production-ready replacement that’s fully compatible with both existing Ingress resources and the new Gateway API model — making the migration smooth and future-proof.
Resources