This tutorial shows how to install a basic CentOS 7 server with mirrored disks (RAID 1)
1. Requirements
To install a CentOS server you will need to download the CentOS 7.0 iso image from a mirror next to you.
The list of mirrors can be found here: http://wiki.centos.org/Download
We are going to do a minimal installation using CentOS-7.0-1406-x86_64-Minimal.iso image.
This image is to install a very basic CentOS 7 system, with the minimum of packages needed to have a functional system, everything else needs to be installed using yum. There are also images for a network installation, Live CD/DVD version and more.
2. Preliminary Note
Before to start I just want to warn you that this is a practical guide without any warranty, it was written with the purpose to help maily system administrators, so I won’t explain technical details neither the theory behind of them, if you don’t know what a RAID is, check it in the Wikipedia.
For the purpose of this tutorial I created a Virtual Machine, this means that your hardware it might differs significantly, including the hard disk drives and the network cards.
In this tutorial I will use the hostname server.example.com with the IP address 192.168.0.100 and the gateway 192.168.0.1, also these settings might differ for you, so you have to replace them where appropriate.
3. Set up a USB Flash Drive
Nowadays I prefer to use USB flash drive to install an operating system instead a CD or DVD.
This is pretty easy with CentOS 7 as you only need to transfer the iso image file using dd:
# dd if=CentOS-6.5-x86_64-bin-DVD1.iso of=/dev/sdb
Make sure you select as destination the device corresponding to the USB flash drive, /dev/sdb in the above example, and not a partition such as /dev/sdb1.
If you are on Windows, check this page on CentOS wiki: http://wiki.centos.org/HowTos/InstallFromUSBkey
3. Install the Operating System
Boot from the USB flash drive and select Install CentOS 7
When the welcome screen of the CentOS installer appears, choose your language and just click on Continue
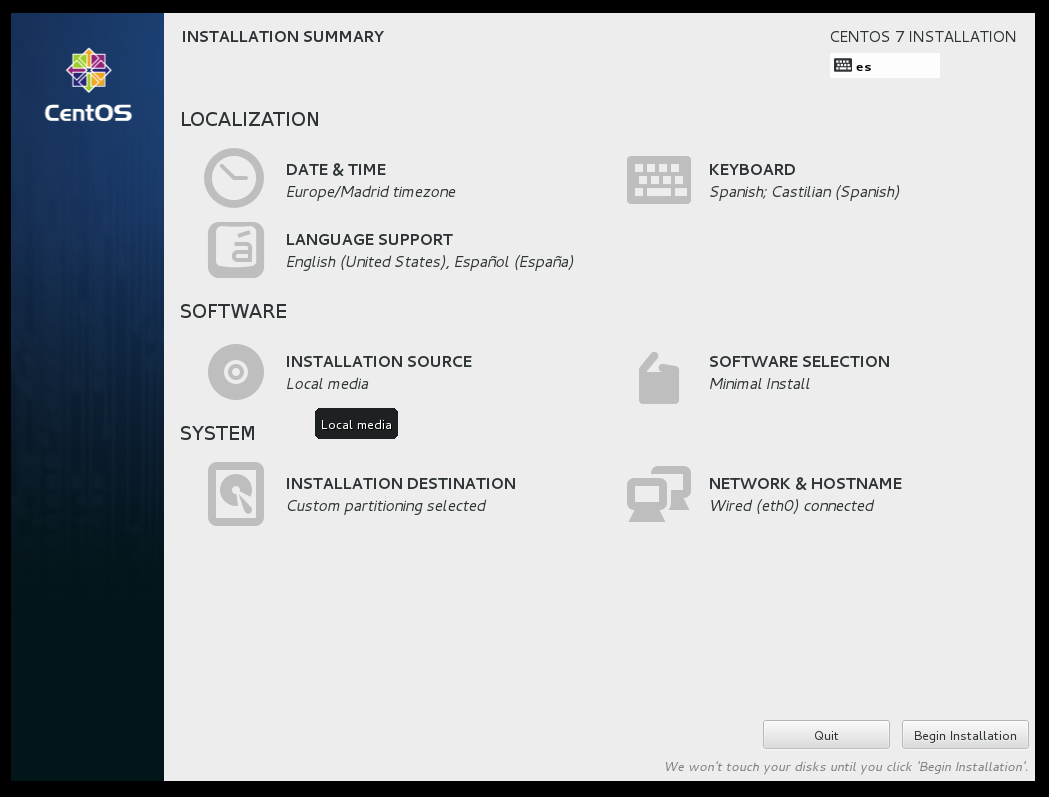
CentOS installation is now similar to Fedora’s one, where we have to complete all items before to be able to click on Begin Installation button.
Let’s see all of them, one at time:
Date & time
Here you can choose your time zone.
Language support
Choose your language.
In my case I add Spanish language support so server will know about those strange characters like ‘ñ’, but my suggestion is to keep using English as a system language, which will be helpful if later on you have trouble as you will more likely find help when google’ing for English error messages rather than any other language.
Keyboard Layout
Select your keyboard layout.
Installation Source
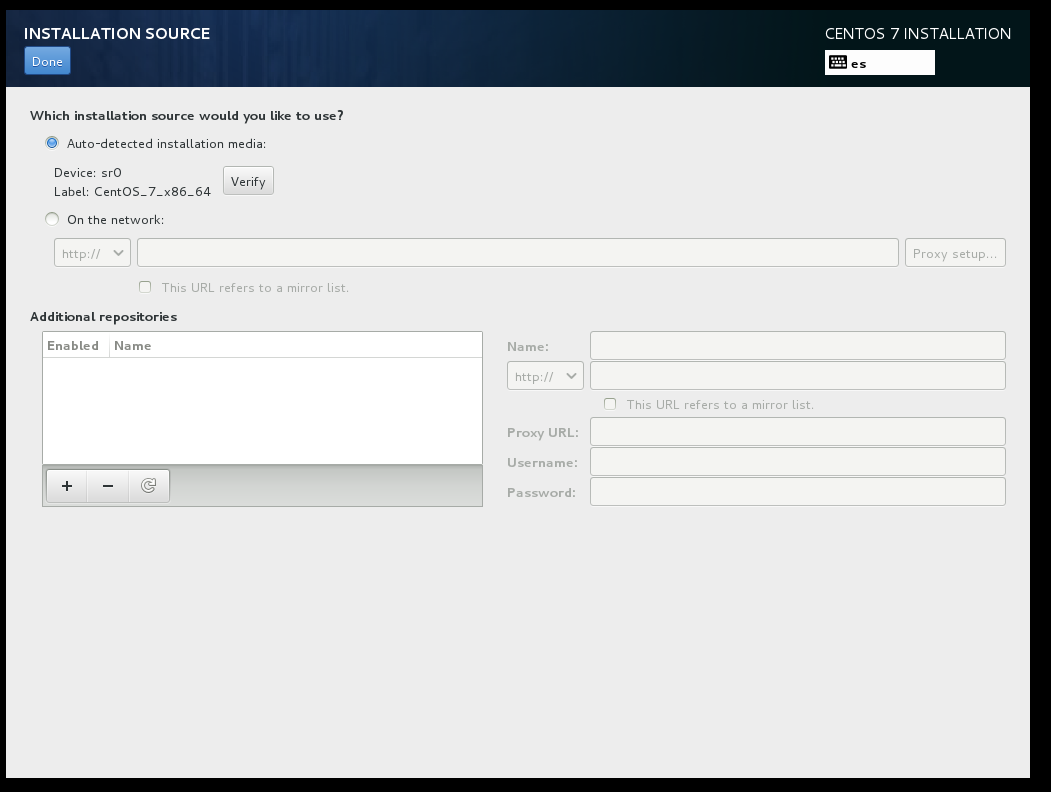
Here the installer should have auto-detected your local media (USB flash drive, CD or DVD).
You can also choose a network location, which is useful if you have a local mirror of CentOS packages or if you are using the NetInstall iso image.
Software Selection
As we choose to use the Minimal Installation iso image we won’t have other option here.
Bear in mind that this is REALLY a minimal selection of packages, you most likely want to the install “Base” group using yum after installation process is completed to get some additional administration tool.
Network & Hostname
Enter the hostname of the server, then click on the Configure… button to assign a static IP address.
In the IPv4 Settings tab select Manual in the Method drop-down menu.
Then click on the Add button next to the Addresses area to set a static IP address.
Finally insert your DNS servers numbers separated by commas.
When you have completed the network settings click on Save.
You can see now a summary with your connection details, click ‘ON’ to activate it.
Installation Destination
Now the interesting part, partitioning the hard drives and setup mirrored disks a.k.a RAID 1.
As you can see I made two virtual disks /dev/vda and /dev/vdb of 8 GB each, which is enough for the purpose of our exercise, off course you will use bigger disks.
Click on the icons to select both disks, also select I will configure partitioning, then click on Done button.
Manual Partitioning
Right now there isn’t any mount point defined, let’s CentOS installer creating them automatically.
this is how the installer will partition the disks, as you can see it creates:
- /boot, which has to be a primary partition
- an LVM volume group called centos-server which contains 2 logical volumes, root and swap file systems.
LVM volume uses all 16 GB of two hard drives, but we want RAID 1, so let’s converting it.
Select the root (/) volume and click on Modify… button next to the Volume Group selection drop-down.
You will see the Configure Volume Group windows, select both disks then choose RAID 1 (Redundancy) from the RAID Level drop-down.
File system size is now reduced of about an half.
We set a mirror also for /boot primary partition, use the Device Type drop-down to convert it to a RAID partition.
Finally click Done button, review the Summary of Changes window and click on Accept Changes.
Begin Installation
We have completed all items so we can start the installation by clicking on Begin Installation button.
User Settings
While the installation process goes on, we can set the root user pasword and create an administrator user.
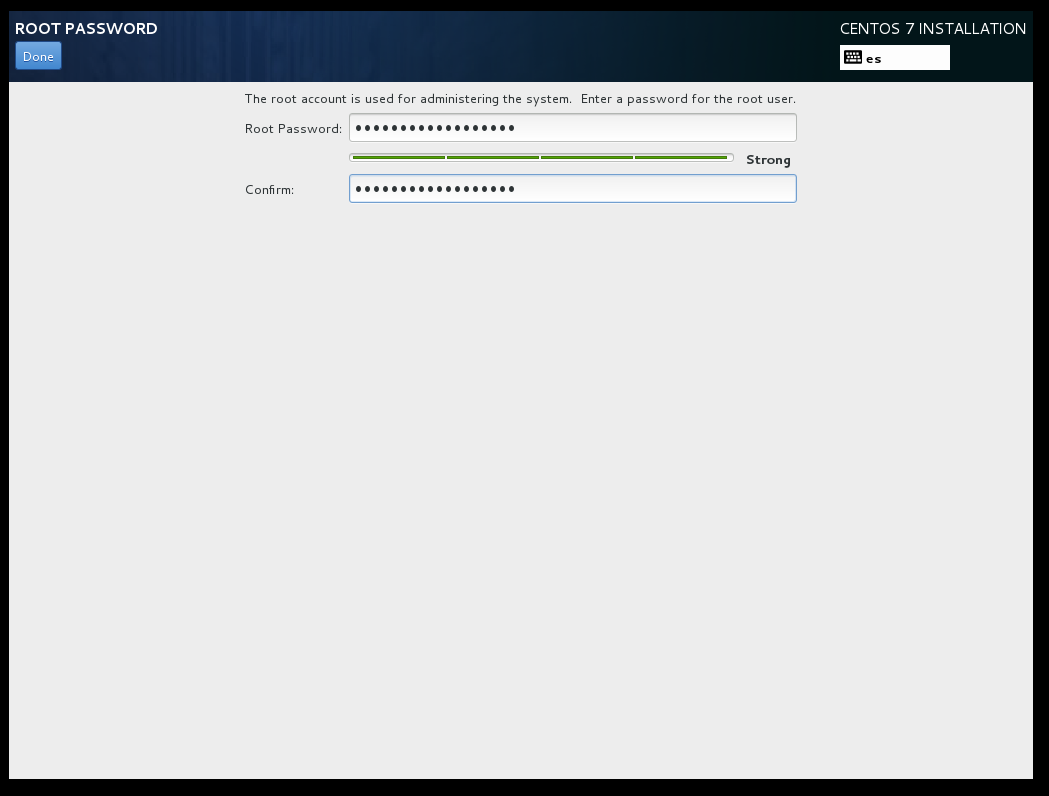
root Password
Enter a password for the root user.
Create an Administrator
Enter details to create a new user and make it an administrator.
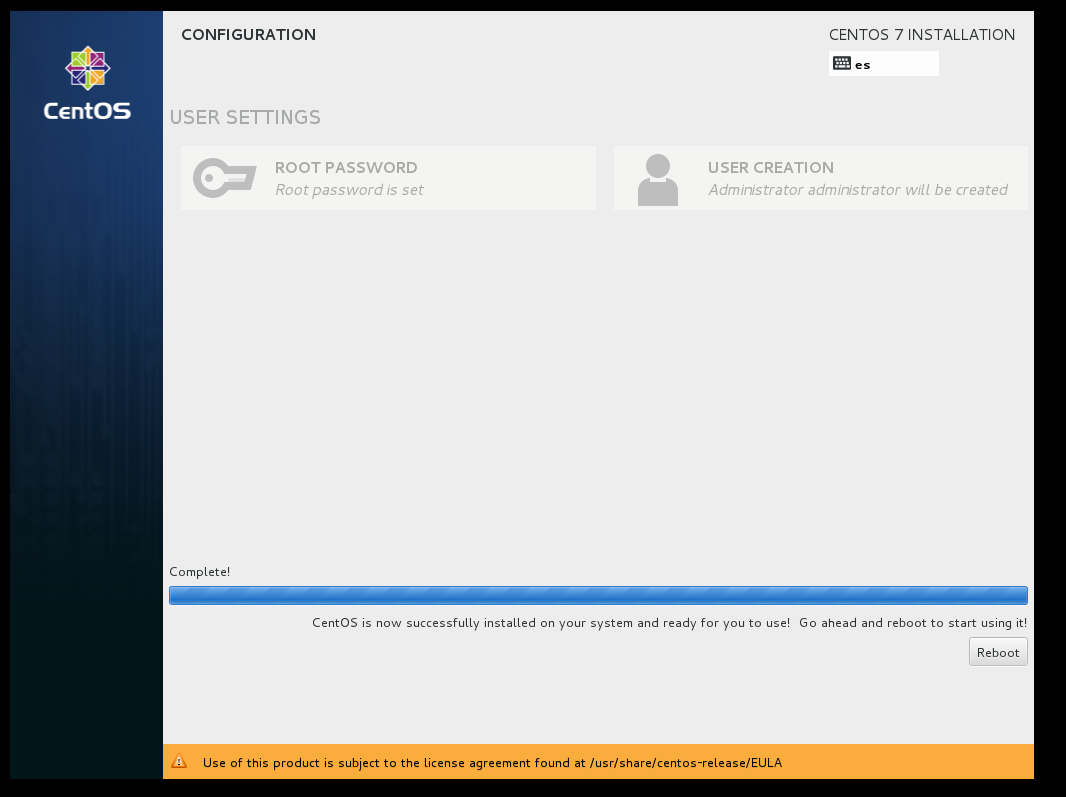
Installation Completed
When the installation is complete, you can remove your USB flash drive or DVD and click on Reboot.
After the reboot you can log in to the server.
That’s it! You have a minimal CentOS 7.0 server installed.
Now you can follow up with CentOS 7.0 server post-installation steps, which I will write in the next article of this series about CentOS 7.
credit: http://danilodellaquila.com/en/blog/centos-7-server-installation-with-raid


